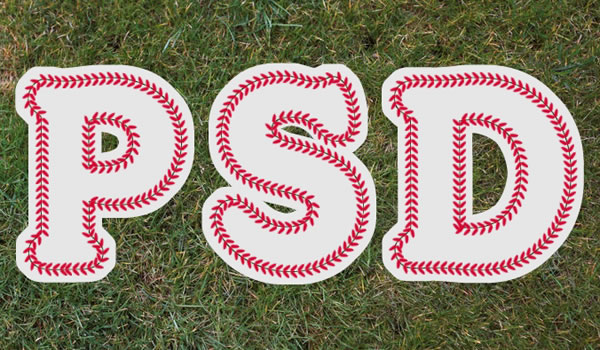
[/h]
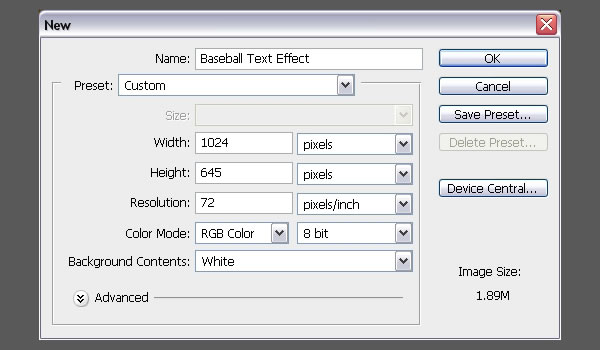 You can use any other values for the Height and Width depending on the text you are going to create.
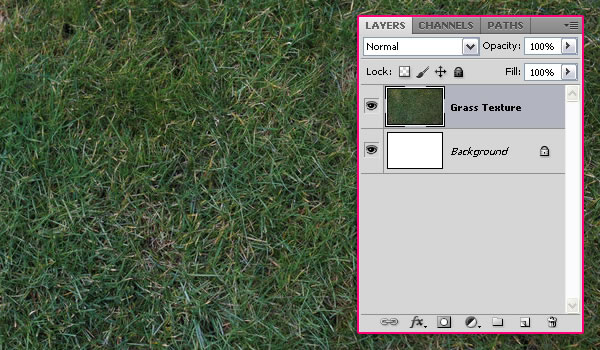
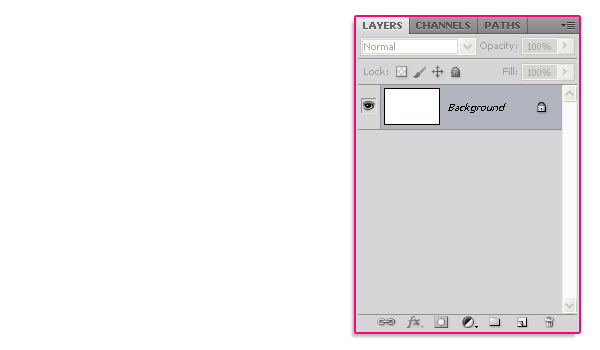 Download the Grass Texture 1, and place it on top of your “Background” layer, then resize it as needed.
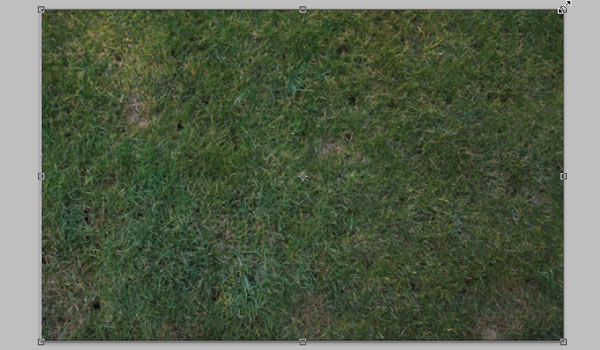 Rename the layer to “Grass Texture”.
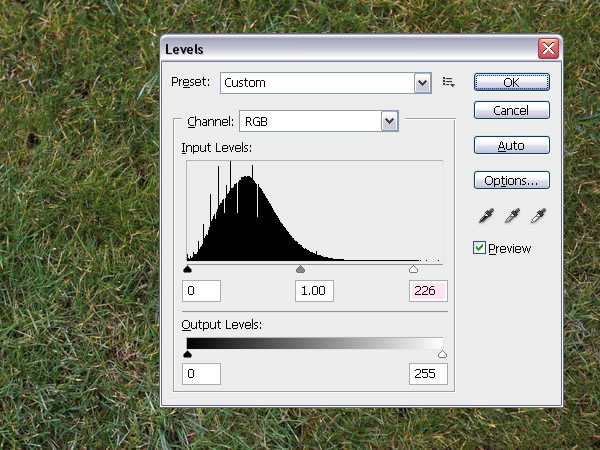
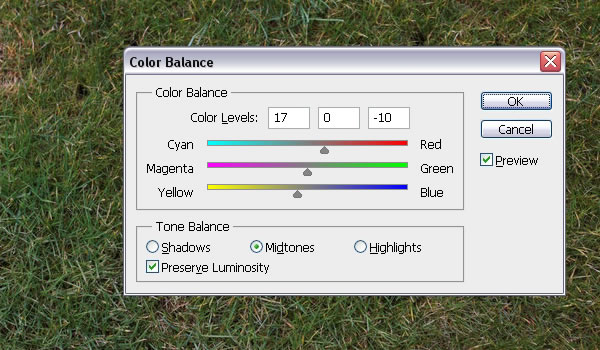 Go to Image > Adjustments > Levels, and change the Highlights value to 226. This will brighten up the texture a little bit. We will be using Adjustment Layers later, so that would be it for the grass texture for now.
 Step 3
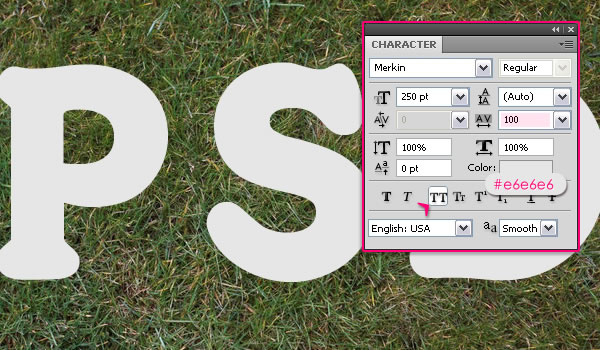
Create the text using the font Merkin. The color is #e6e6e6 and the Size is 250pt. Set the Tracking value to 100 to avoid overlapping, and click the All Caps icon.
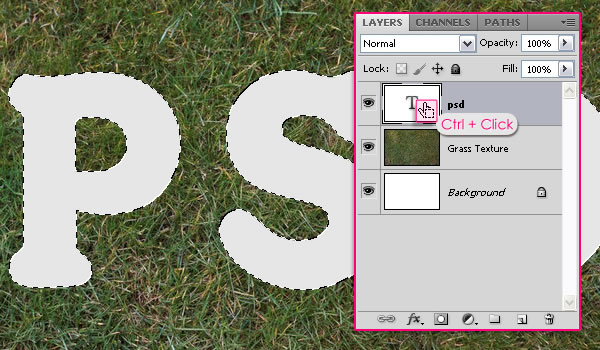
 Press the Ctrl/Cmd key and click the text layer’s icon to create a selection.
 Step 4
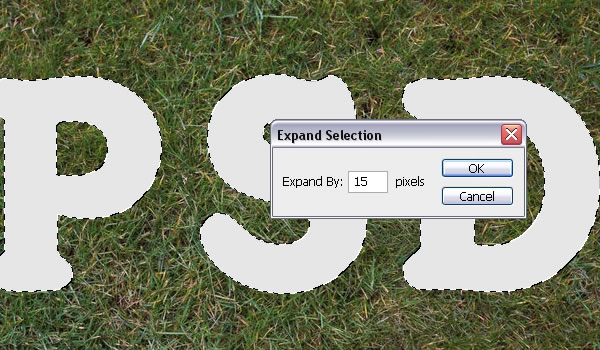
Go to Select > Modify > Expand, and type in 15. This will expand the selection 15 px outwards.
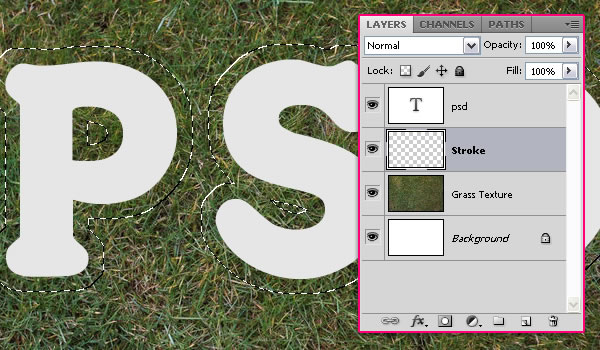
 Create a new layer below the text layer and call it “Stroke”.
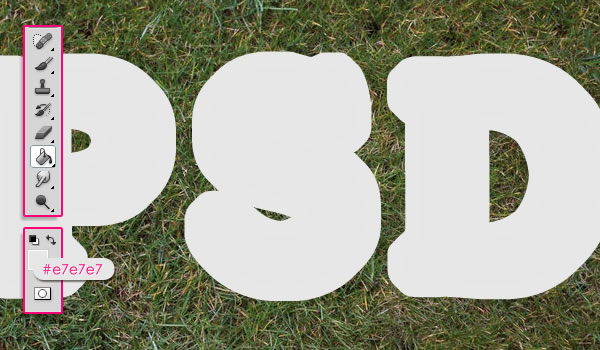
 Set the Foreground color to #e7e7e7, and fill the selection with that color. You can go to Select > Deselect, or press Ctrl/Cmd + D to get rid of the selection.
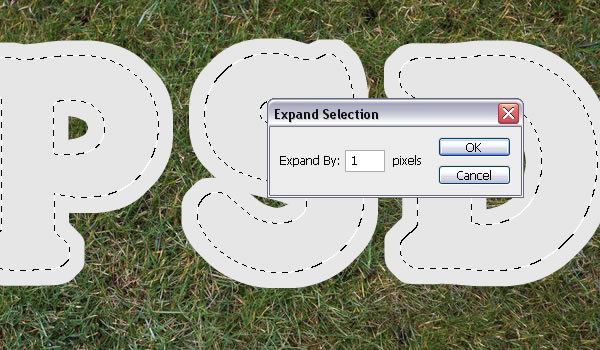 Make sure that the “Stroke” layer is active (selected), and hit Delete to get rid of the inner parts of the stroke.
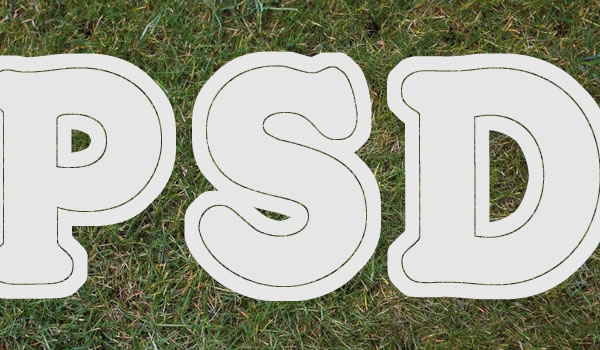 Step 6
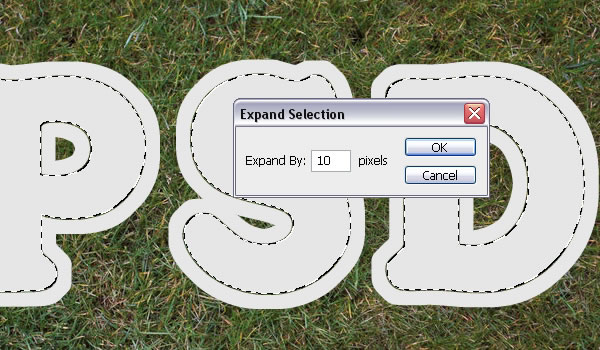
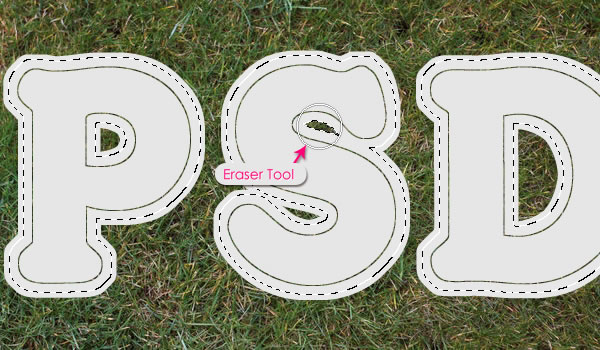
This is optional, but if you want to delete parts of the stroke that connect some edges of the letter to enhance the stroke, then you can use the Eraser Tool. OR, you can simply Ctrl/Cmd + Click the text layer’s icon to create a selection, then expand it (Select > Modify > Expand) in values that are less than 15. For example, the value 10 will be used here to enhance the stroke at the top of the letter S.
 Go to Select > Inverse to invert the selection.
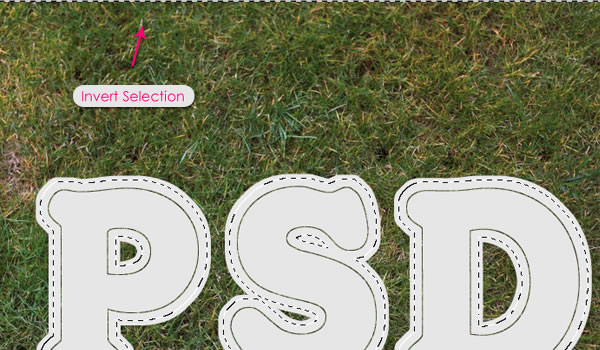 Use the Eraser Tool to remove the unwanted parts. This method gives the exact shape of the unwanted areas, instead of erasing it randomly. Of course, smaller “Expand” values enable you to erase larger areas, and vice versa.
 Step 7
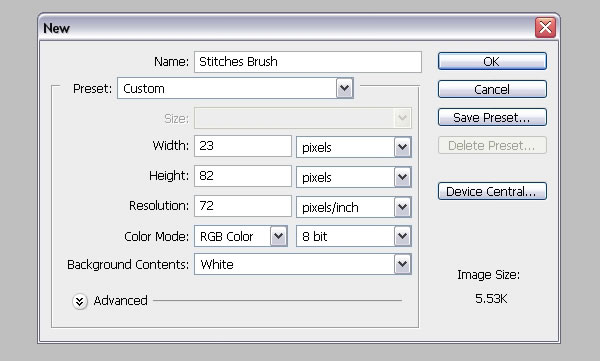
Now, it’s time to create the Stitches Brush. So go ahead and create a new 23 x 82 px.
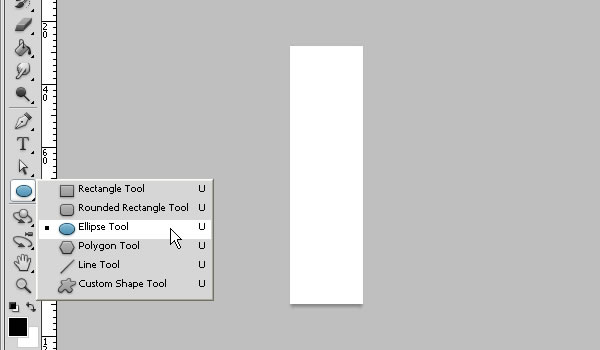
 Pick the Ellipse Tool and set the Foreground color to Black.
 Click on the top left corner of the document and drag to the lower right corner to create an ellipse
.
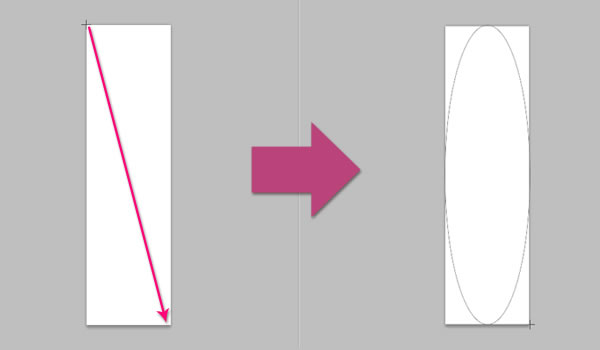 Don’t worry if some edges of the ellipse do not appear, they will in the next step.
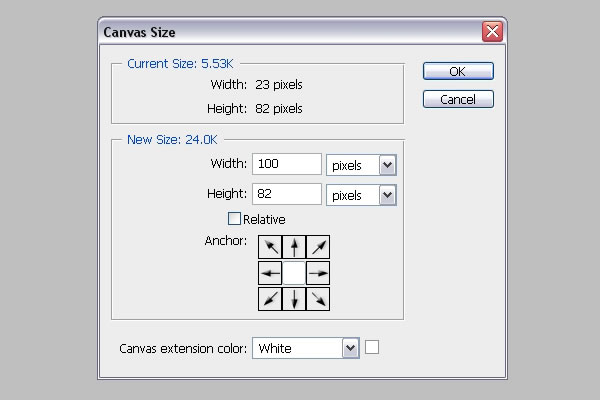
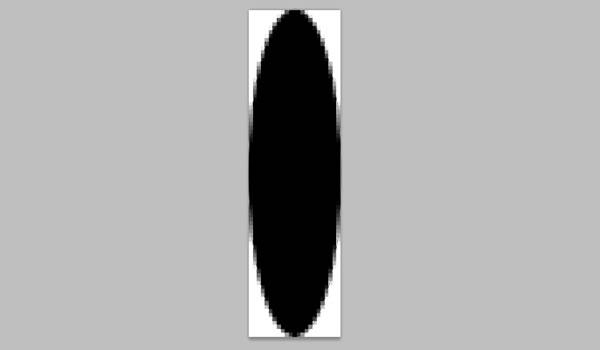 To show all the edges and continue creating the brush, go to Image > Canvas Size, and set the Width to 100 px
 Step 8
Press Ctrl/Cmd + T to enter the Free Transform Mode. Rotate the ellipse 45° clockwise. (You can type the value in the Rotate field in the Options bar at the top). Hit Enter/Return to accept and get out of the Free Transform Mode
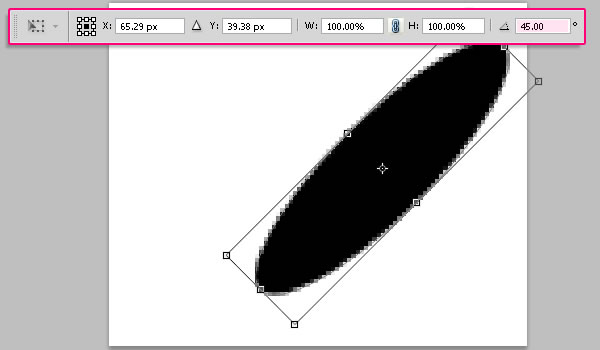 Duplicate the ellipse shape layer, and press Ctrl/Cmd + T to free transform the copy.
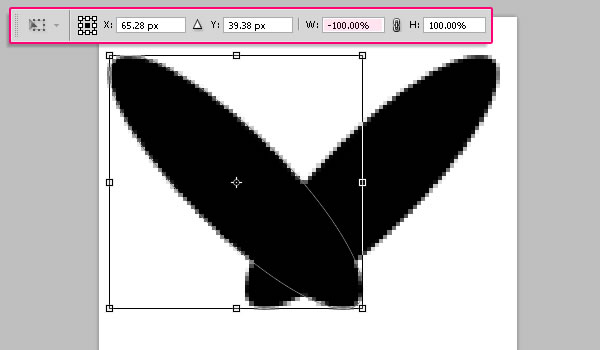
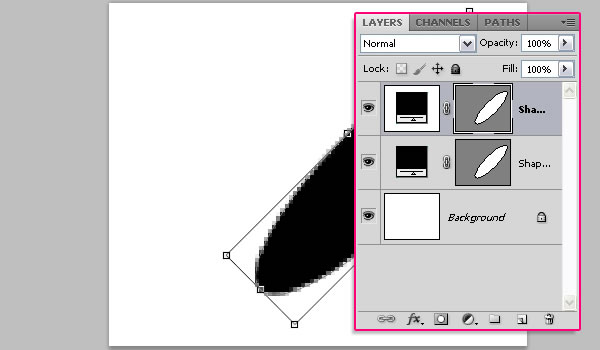 Type -100% in the Width field (in the Options bar at the top) to flip the ellipse horizontally. Hit Enter/Return to accept.
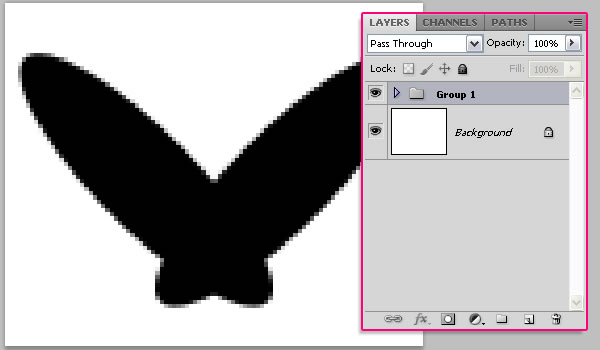
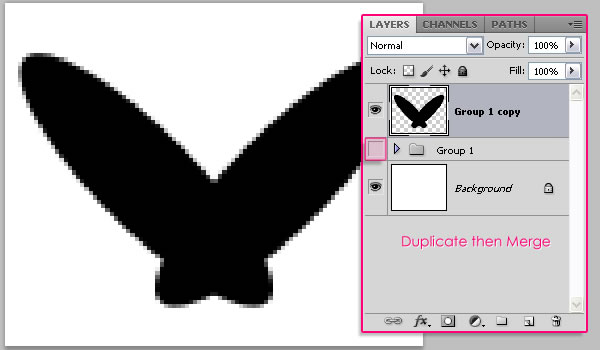
 Next we are going to rasterize the two shape layers, but first, group them so that you’ll have the original layers available in case anything goes wrong after rasterizing.
 Use the Rectangular Marquee Tool to create a selection around the lower part of the stitch. The selection’s Height should be around 13 px, you can check that in the info panel (Window > Info).
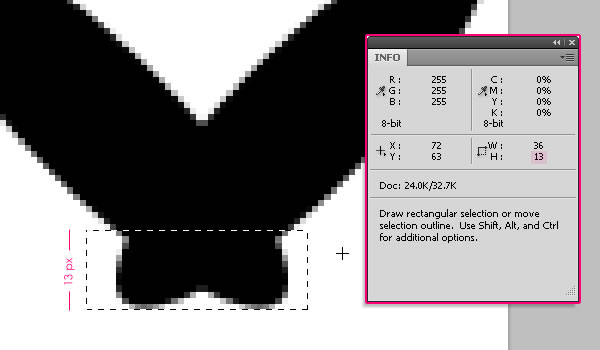 Hit Delete to get rid of the selected part, and press Ctrl/Cmd + D to get rid of the selection.
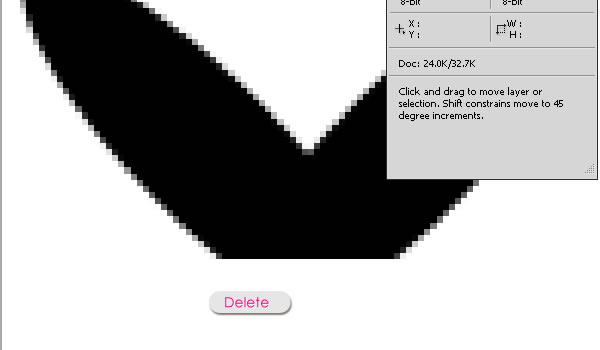 Once again, use the Rectangular Marquee Tool to create a selection in the middle part of the stitch. The selection’s Width should be around 2 px.
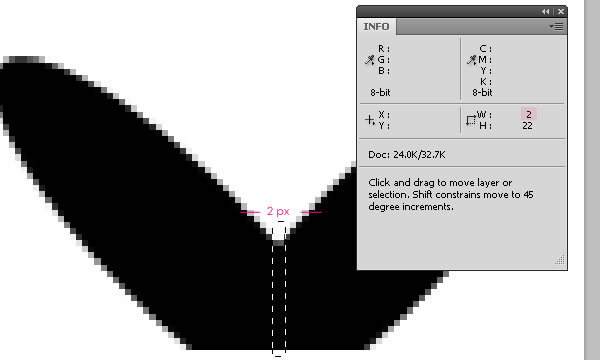 Hit Delete and press Ctrl/Cmd + D.
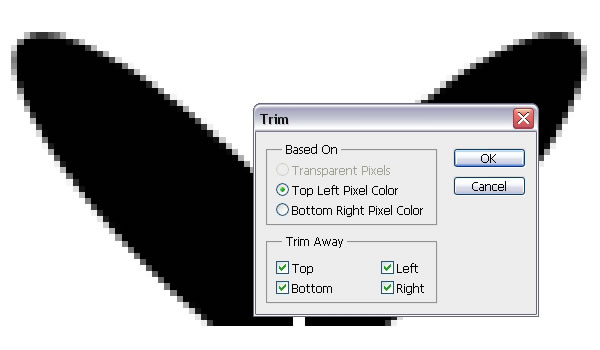
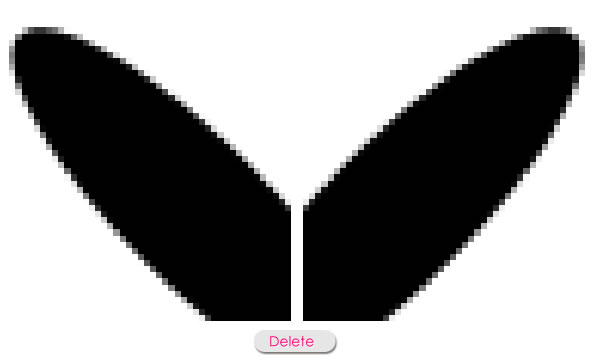 Go to Image > Trim and apply the values below. Once you click OK, the extra white space around the stitch will be removed. This helps define the brush’s size more precisely.
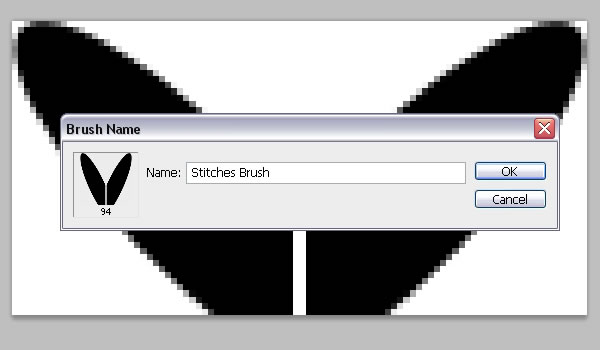
 Finally, go to Edit > Define Brush Preset and type in a name for the brush. You can save the PSD file if you want as well.
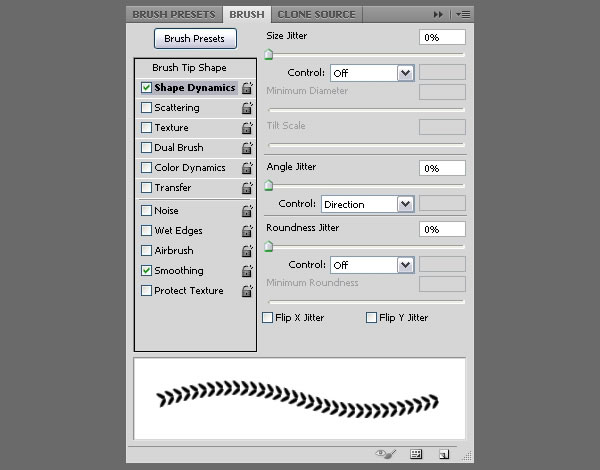
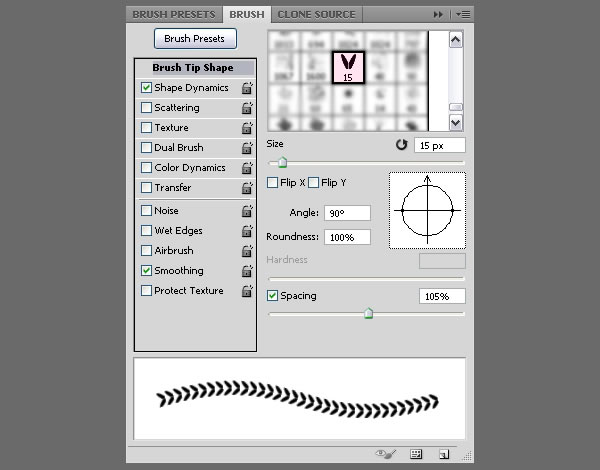 Change the settings under Shape Dynamics as shown below too, and make sure to choose Direction from the Control drop down menu under the Angle Jitter tab. This is important as it will make the stitches follow the direction of the text path instead of having the same angle everywhere
.
 Step 11
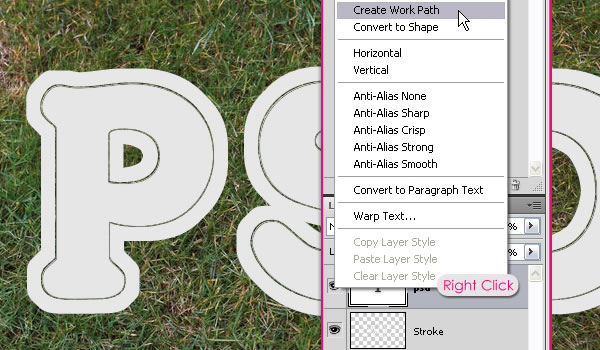
Right click the text layer and choose Create Work Path.
 Create a new layer on top of all layers and call it “Stitches”.
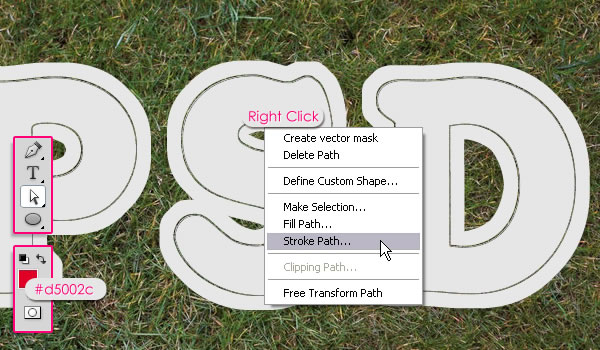
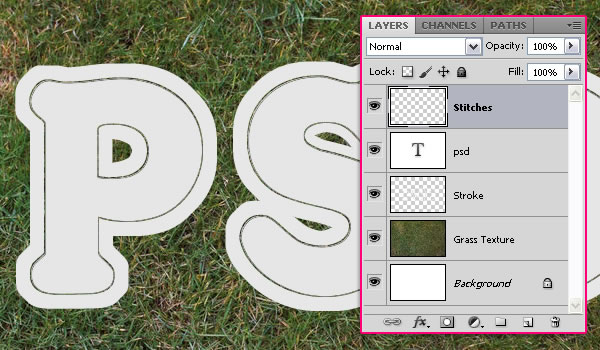 Set the Foreground color to #d5002c, pick the Direct Selection Tool, right click the path, and choose Stroke Path.
 Choose Brush from the Tool drop down menu, and make sure that the Simulate Pressure Box is un-checked.
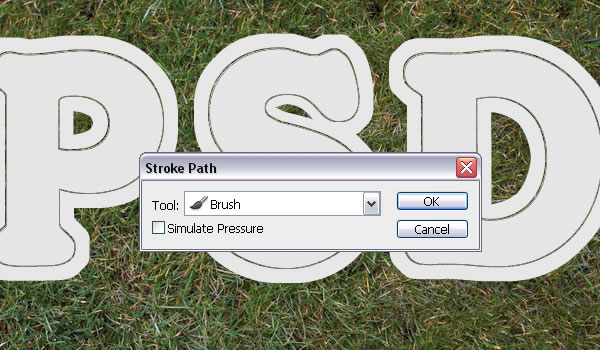 This will stroke the path with the stitches. Hit Enter/Return to get rid of the path
