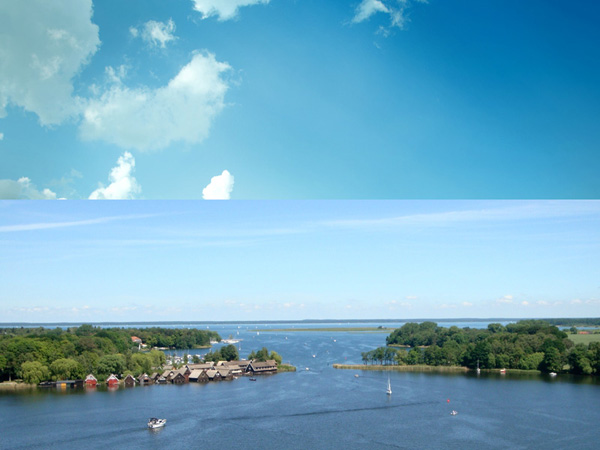
Paste in your cloudy sky image to act as your main background image:
 Now apply a color balance adjustment layer. Get in the habit of giving all your adjustment layers clipping masks (layer>create clipping mask). This way your adjustments will only effect your underlying layer.
Color Balance Adjustment Layer Settings: Highlights: -19 / -4 / -9
Midtones: -36 / +12 / +1
Shadows: -26 / -5 / -13
 Now create a new layer called ‘background lighting’. Use a low opacity, large, soft paintbrush to paint in shadows (black) and highlights (white). Try to add highlights to the center of your canvas, and create a vignette type effect by shadowing the edges and corners of your canvas:
 [h=2]Step 2[/h] Now paste your lake photo into the bottom of your canvas:
 Now apply a layer mask. Use a medium, soft black paintbrush to mask off the top of your lake image, so that you’re creating a seamless landscape from your two photos:
 Now apply a color balance adjustment layer to your lake image:
Color Balance Adjustment Layer Settings: Highlights: -19 / +8 / -4
Midtones: -32 / -6 / -9
Shadow: -23 / 0 / -2

 [h=2]Step 3[/h] Now paste in your picture frame image. Get rid of it’s white background using the magic wand tool:
 Now apply a levels and color balance adjustment layer to your frame layer:
Levels Adjustment Layer Settings: 20 / 1.03 / 229
Color Balance Adjustment Layer Settings: Highlights: -8 / 0 / -5
Midtones: -8 / -4 / +1
Shadows: -5 / -1 / +2

 Now grab your jungle photo and paste it onto a new layer behind your picture frame layer:
 Now apply a color balance adjustment layer to your jungle photo:
Color Balance Adjustment Layer Settings: Highlights: -18 / +5 / +11
Midtones: -18 / +4 / +9
Shadows: -19 / +12 / +2

 Now use your line shape tool to create two dark gray (201e1e) 1px lines coming up from the top of your picture frame. You want to give the impression that these are wires, from which your frame is hanging:
 [h=2]Step 4[/h] Now open up your waterfall photos from the resources section for this tutorial.
Use your lasso tool to select an area of your waterfall. You will use this to create the illusion of water pouring out of your picture frame:
 Now paste your selected water into your original document, resizing and positioning it to fit where you want:
 Now apply a layer mask to your water layer, and use a medium sized, soft black paintbrush to mask off the edges of your water:
 Now apply a color balance adjustment layer to your water layer:
Color Balance Adjustment Layer Settings: Highlights: -16 / 0 / +8
Midtones: -30 / 0 / +8
Shadows: -19 / 0 / +8

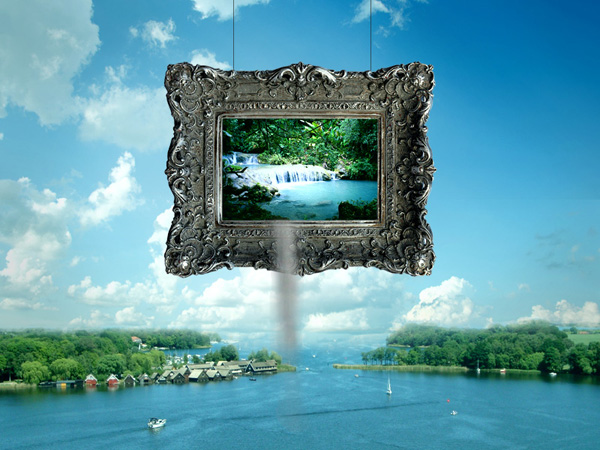
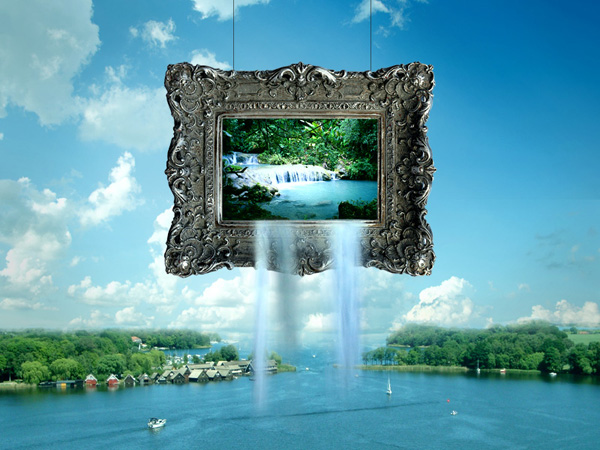
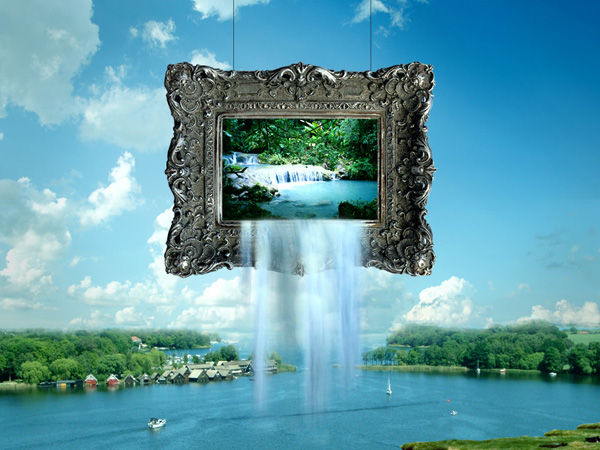
 [h=2]Step 5[/h] Now repeat the last step, building up a series of water layers. The images below show the build up of this effect:
 [h=2]Step 6[/h] To help give the impression that the water dripping from the frame is going into the lake below we want to give a very subtle impact in the lake water.
Paste in your ripple image from the resources for this tutorial. Position your ripple at the bottom of one of the larger streams of water:
 Now apply a layer mask and mask the edges of your ripple image using a soft black paintbrush:
 Now reduce this ripple layer’s opacity to around 12%. Duplicate this layer and move your duplicate ripple underneath another water stream:
 [h=2]Step 7[/h] Now download the cliff landscape photo from the resources to this tutorial.
Cut out the cliff from the photo and paste this into your main document:
 Apply a color balance adjustment layer to your cliff layer:
Color Balance Adjustment Layer Settings:
Highlights: -28 / +11 / +8
Midtones: -39 / +21 / +2
Shadows: -1 / -5 / +2

 [h=2][/h]